Setting up Passwordless Authentication using the Okta Factors API

This last week I've been setting up my own IndieAuth server, which I've been thinking about doing for some time.
The key thing I wanted to do was streamline my authentication flow, as if I build a server just for me, I can make it work with my own constraints. On my staging site, which I use a lot for testing, I only have email one time passcodes set up, which slows me down more than a regular OAuth2 login.
Aaron Parecki wrote about setting up Passwordless authentication on his website and since reading it, I was like, yep, I need to implement it.
I know Aaron hasn't yet had a chance to write this up, but as I've worked on it for my own site this last week, I thought I'd explain how I did it!
Prerequisites
Firstly, I set up a new Okta developer account, which gave me a new Okta domain.
Next, I needed to activate the Okta Verify functionality, and enable the Push notifications functionality:
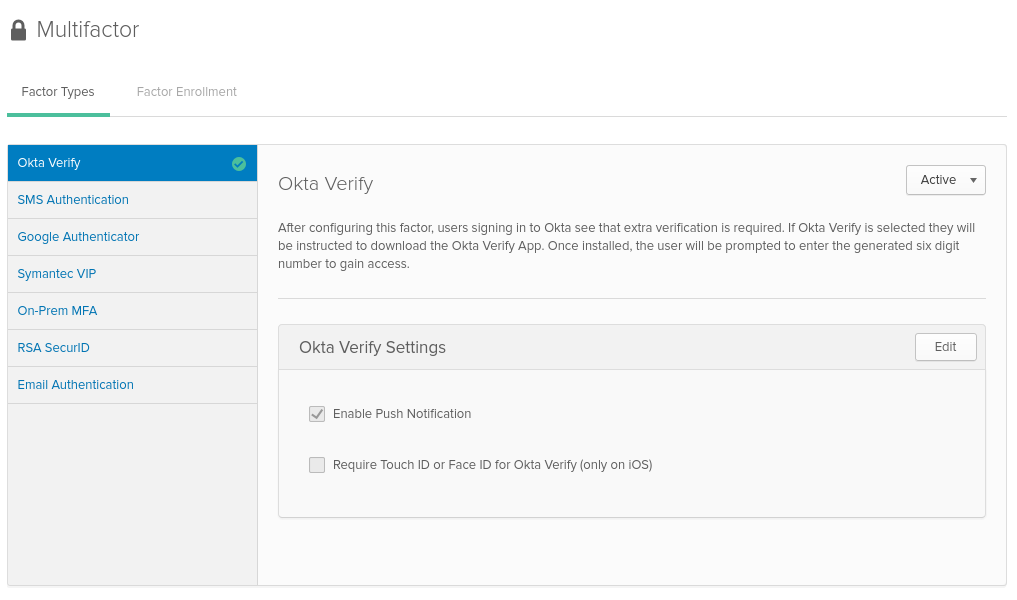
(Aside: I was pretty confused when first setting this up, but with the help of Okta's support team, I found that the Factors API is only available in the non-developer UI, on the path ${oktaDomain}/admin/access/multifactor.)
Once Okta Verify is enabled and we've set up Push notifications, we're able to enroll our device.
Authenticating to Okta's API
Before we can go any further, we need to be able to authenticate to the Okta API to onboard / verify our device.
We have two choices - we can either register an OAuth2 app, or we can use a plain API token - I've opted for the API token for ease of use, but it's up to you.
Enrolling the device
Next, we need to onboard our device. I made use of the Postman collections as it does a little bit extra for you, but the pure Factors API documentation also works great.
I followed the steps to send the request to enroll a push factor, and then took the link from the response that contained the QR Code (in JSON path $._embedded.activation.qrcode.href), loaded it in a browser and scanned it with my phone.
Then, I polled the response from the activation (in JSON path $._links.poll.href) to get the factorId and recorded that and my userId.
Verifying the device
Now I had the two of these, and a means to authenticate to the API, the fun part started - I had to be able to issue a challenge as part of my authentication flow.
We can follow Okta's documentation and issue the challenge, at which point my phone pops up with a notification, and accepting it means I have authenticated. Polling the verification endpoint allows the API to confirm whether the request is accepted / denied or fails for other reasons.
This was relatively straightforward to get set up and works really nicely for a way to easily authenticate myself in applications.