Introduction to Python Programming - Session 1 Catchup
This article was for Hacksoc Nottingham, while I was the 2015-2016 General Secretary.
Hey Hacksoc,
So whether you missed our session last week, or you just want to brush up on it again, we've got a catchup session here.
If you're already set up with Python and Atom, you can skip to the programming, otherwise get started below:
Setting up your machine
So first things first, you'll need to install the following:
- Python 2.7
- This installer sets everything up that you'll need to write and run the Python applications we're creating in the first half of the sessions
- Atom Text Editor
- Atom is a text editor which allows you to write all your Python code - but that's not all it does. A great thing about Atom is that it provides syntax highlighting (syntax highlighting: you will get colour-coded text which makes it much more easy to work with your code. See the code in basic calculator for an example of what syntax highlighting looks like). Although you can use any editor, we recommend Atom as having everyone using the same one will make things much easier for teaching, and will also allow you to share tips and tricks with your friends when you get to playing around with it.
Windows
You'll also need to set up your PATH.
Getting used to the command line
Windows
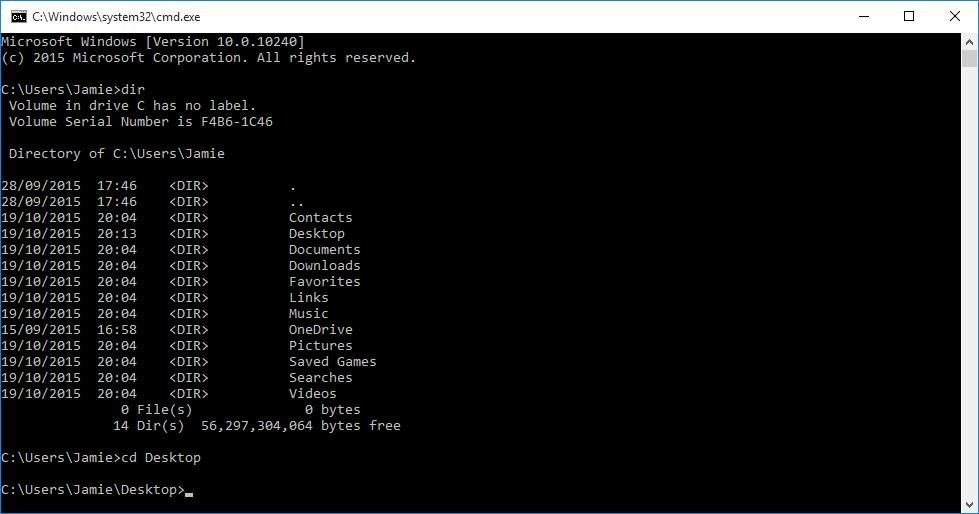
Navigate to the Start Menu, then type "Command Prompt" and press enter when the icon appears. For a graphical walkthrough, check out WikiHow's tutorial on it.
There are three commands you will need to know:
dir- List the current directory. This will tell you what is in the folder you're currently in.cd- Change the current directory. This will let you move around your filesystemcd ..- Change to the parent directorycd Desktop\Hacksoc-Python- Change to the folderHacksoc-Pythoninside the folderDesktop
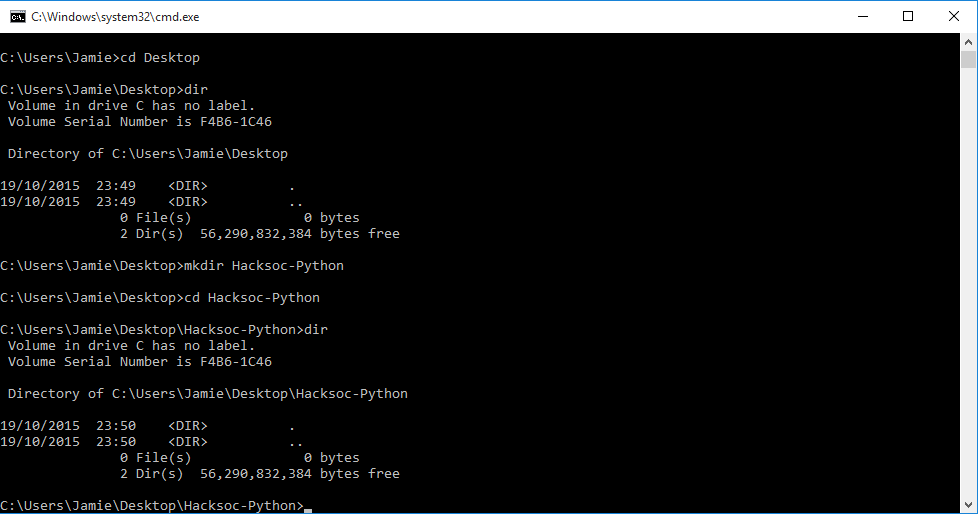
mkdir- Make a directory. This will let you create your folder structure needed to get your code organised
First we want to get to the Desktop, where we'll store our folder. Note that you can store it in your Documents, or anywhere, just as long as it's in one central place you can easily get to.
Then we want to create our folder to be organised.
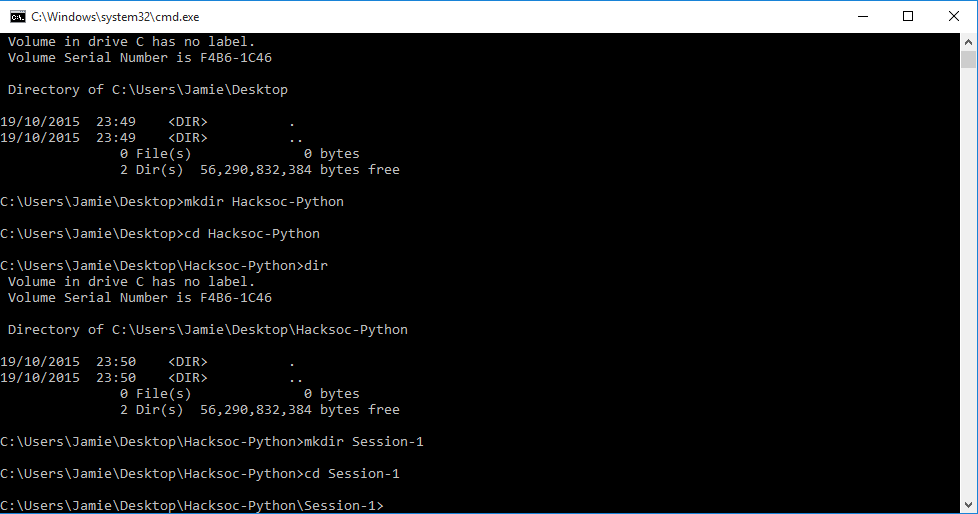
Finally, an example of running a Python script.

Mac
Navigate to the Applications folder, then to Utilities, then double click on the Terminal application.
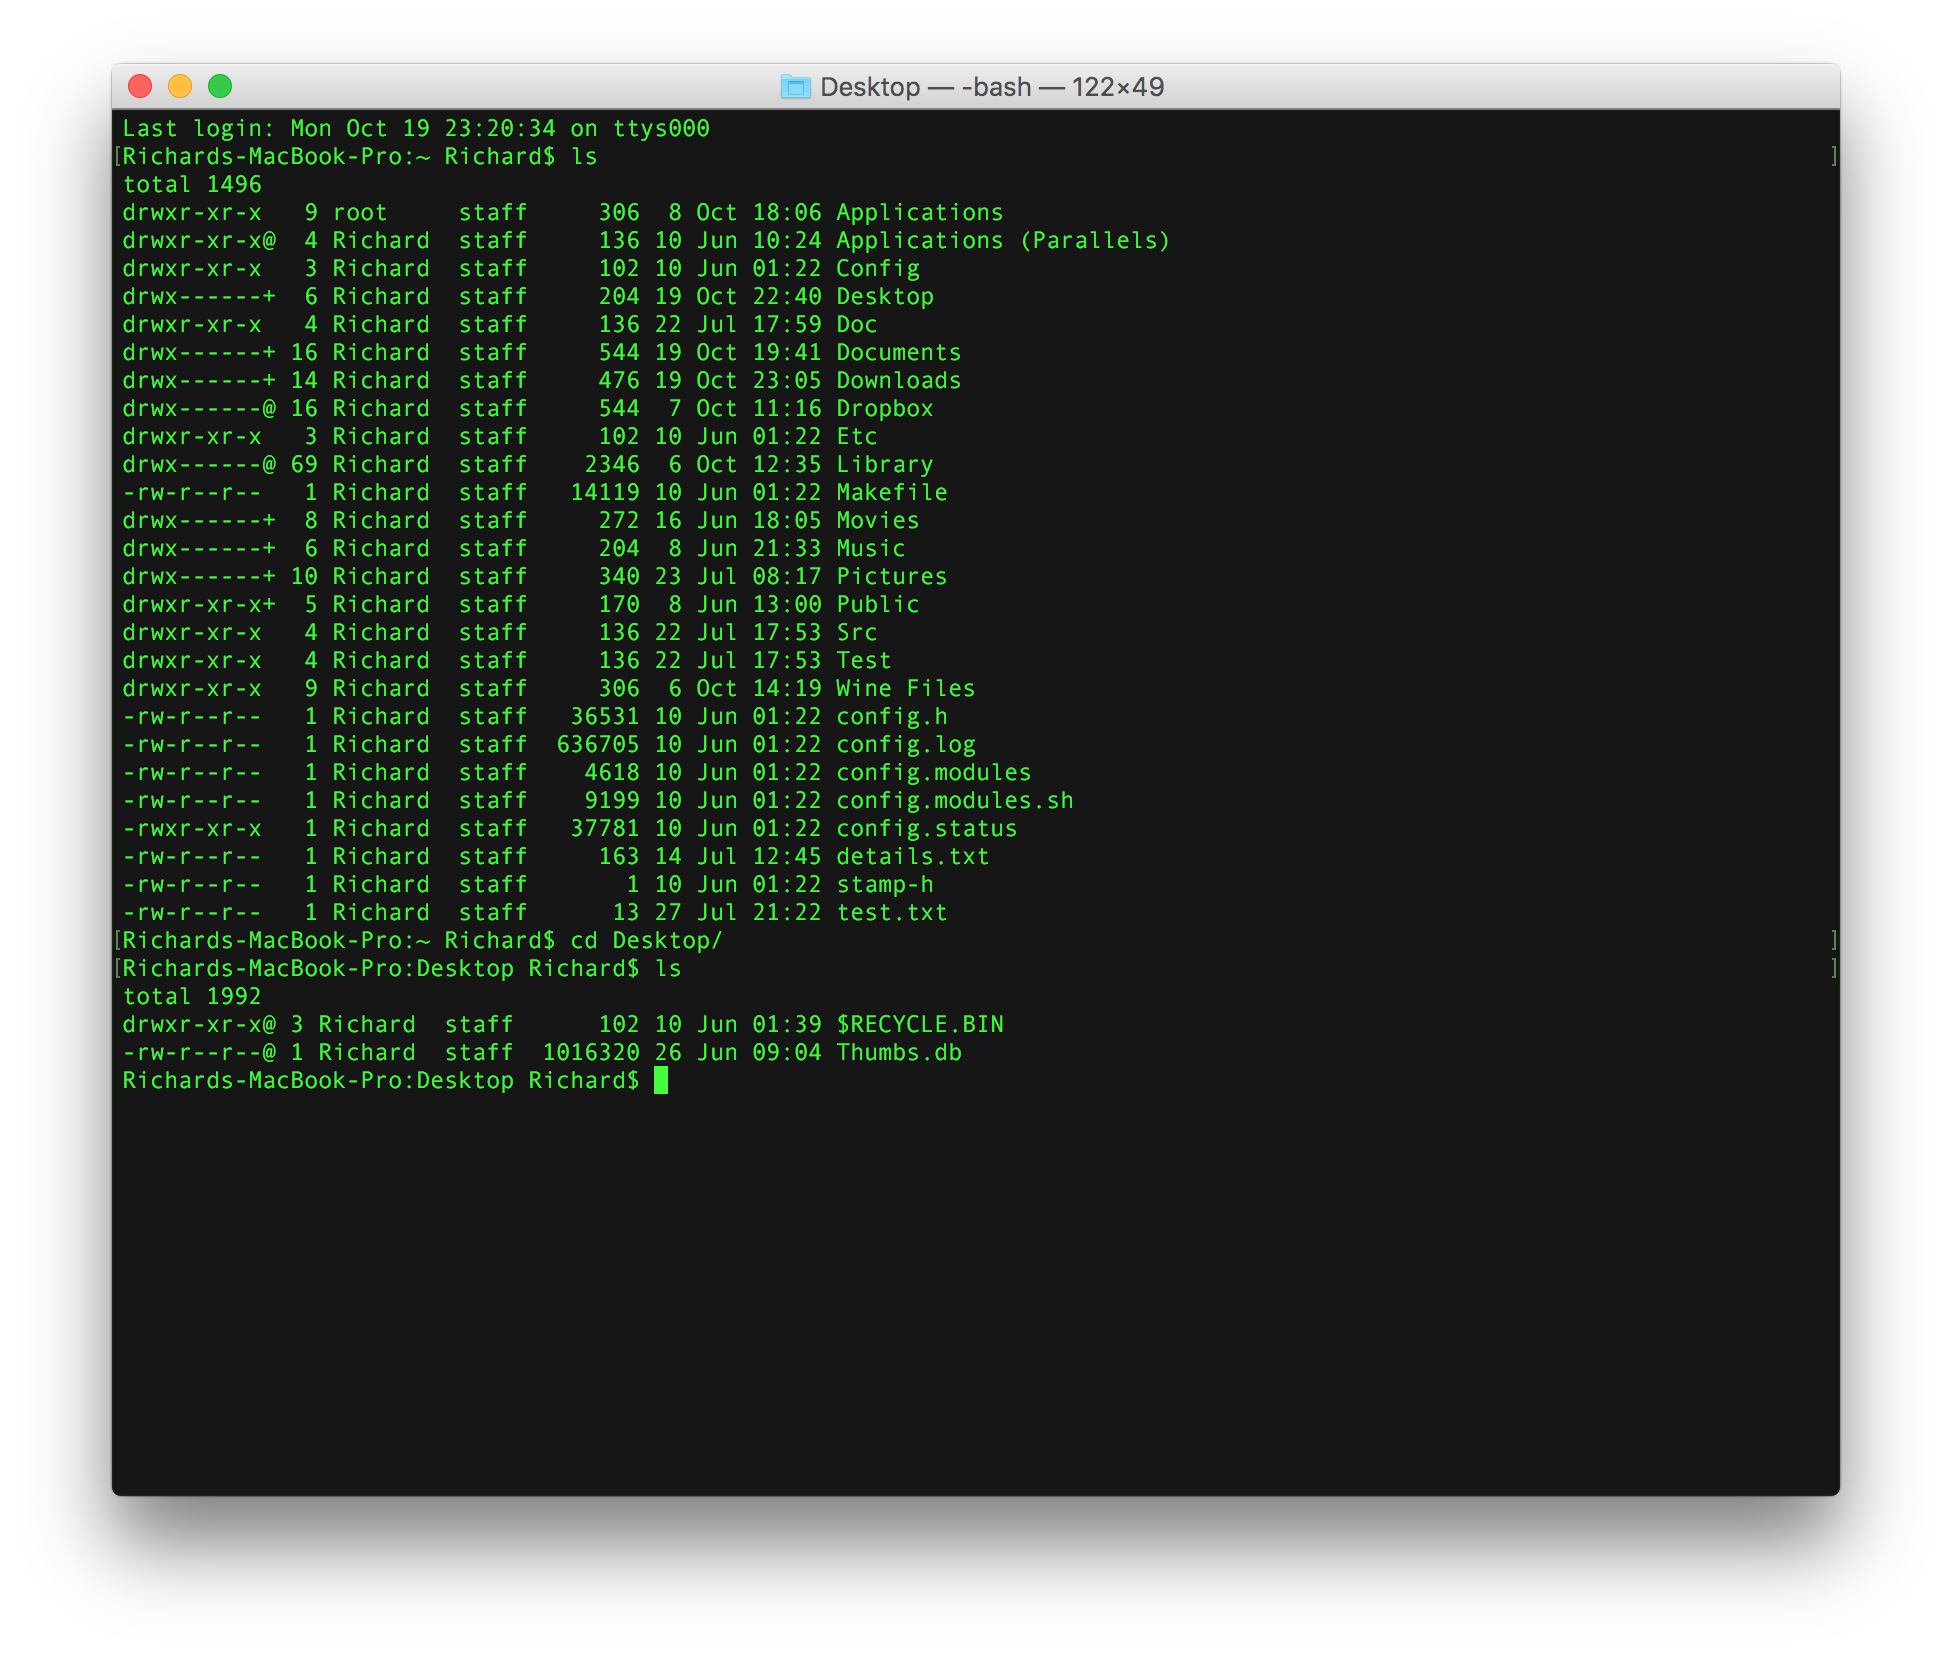
There are three commands you will need to know:
ls- List the current directory. This will tell you what is in the folder you're currently in.cd- Change the current directory. This will let you move around your filesystemcd ..- Change to the parent directorycd Desktop/Hacksoc-Python- Change to the folderHacksoc-Pythoninside the folderDesktop
mkdir- Make a directory. This will let you create your folder structure needed to get your code organised
First we want to get to the Desktop, where we'll store our folder. Note that you can store it in your Documents, or anywhere, just as long as it's in one central place you can easily get to.
Then we want to create our folder to be organised.

We then want to change directory into that folder, and create the file.
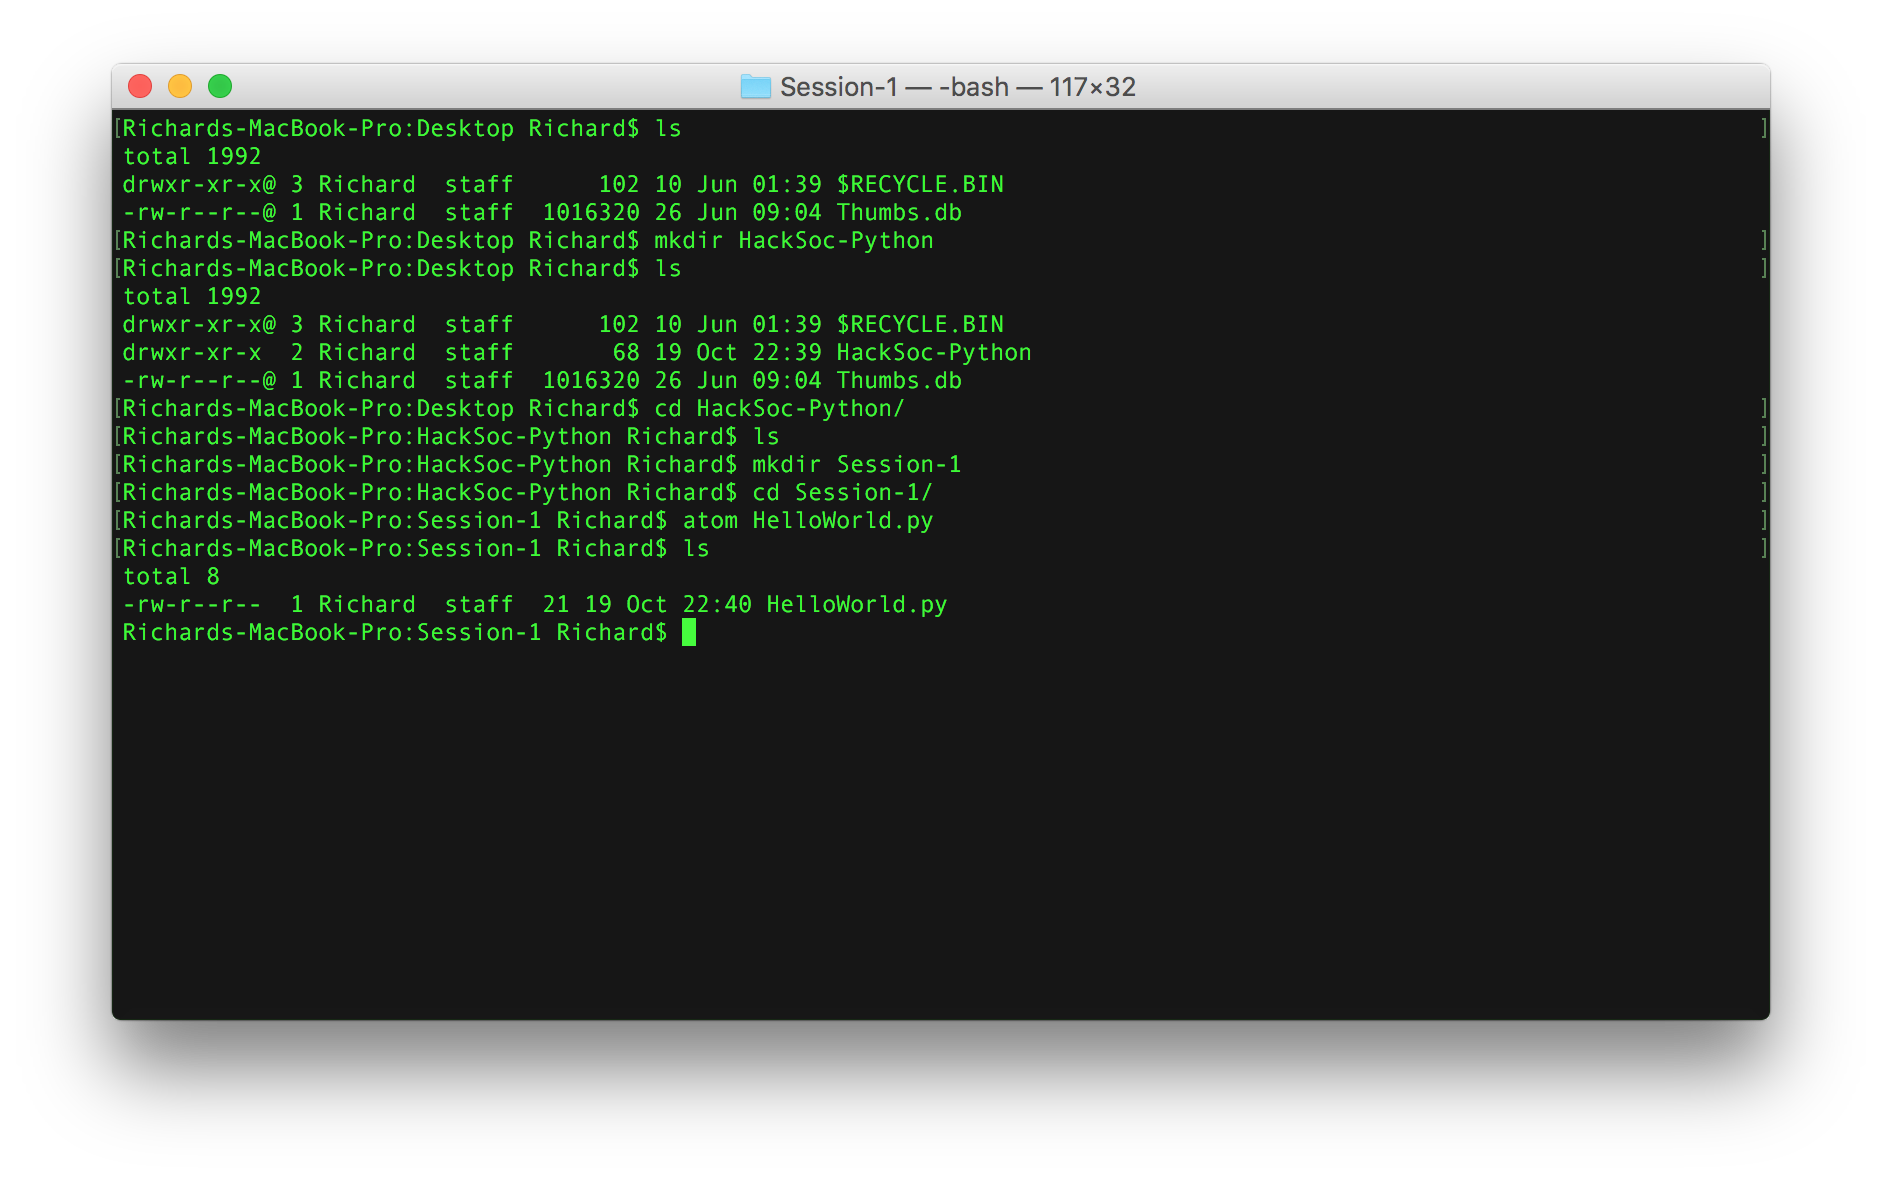
Finally, we want to run that file.

Programming in Python
We started off by showing you guys some code, and asked you to try it yourself.
To test it, you will need to put each code fragment into a new file in Atom - make sure to give it a good filename, such as: helloworld.py, basiccalculator.py. Also aim to have a meaningful folder structure, such as:
python-programming
└── session1
    ├── basiccalculator.py
    ├── helloname.py
    └── helloworld.py
Even though the code snippets are very short, do not copy-paste them! You need to learn to write it out yourself - programming is all about getting a feel for the language and making your own mistakes.
Then to run it, you will need to go into your terminal, cd to the correct directory, and finally run python $filename where $filename is the file name and extension, i.e. helloworld.py. Note that filenames are case sensitive - meaning HelloWorld.py must be run as python HelloWorld.py.
If this does not work, and you are running on Windows, check out the Windows extra setup instructions.
Your first program
The below program will be your first Python program. All it does is print* (print: a common programming term for sending text to the terminal) out the string (string: sequence of characters, enclosed in "") "Hello World" to the terminal. This example is the most common first program in programming - giving the user the quickest way to test the language.
print "Hello World"
Exercises:
- What sort of things can Python
printout? - Can you print out numbers?
- Can you print out more
strings?
Getting some input
In the following example, we're going to ask the user for input, and then print our a welcome message. You will notice that the program waits until the user has entered some text, and pressed the enter key.
name = raw_input("Please enter your name: ")

print "Hello", name
name here is a variable, which is a concept that allows us to reuse values, and create more useful code. As we can see above, we "assign" name the value of raw_input("Please enter your name"), which is input from the user.
The statement print "Hello", name prints the text Hello, followed by the data stored in the variable name. The comma between the two denotes that the "Hello" and the value stored in name are to be space separated.
Exercises:
- what's the difference between
name = raw_input()andname = raw_input("Please enter your name")?
Building something a bit more useful
The following program is an incredible feat of programming knowledge - we've worked out how to create a basic calculator! The following program will ask for two numbers, then print out the value of the two numbers added up.
# basic calculator
number1_input = raw_input("Please enter the first number: ")
number2_input = raw_input("Please enter the second number: ")

number1 = int(number1_input)
number2 = int(number2_input)

# + addition
# - subtraction
# / division
# * multiplication
print number1 + number2
Note the line indicating input = int(number1_input) - this is called casting (casting: coercing a variable of one type to another). In programming, variables usually have a type (type: a classification identifying what valid data can be put into it [1]) such as:
string: a sequence of charactersintorinteger: a whole numberfloat: a decimal number
The reason we have to cast is because number1_input is actually a string. You can test this with the code in the Working With Types section. Therefore we need to force it to become an integer to add them.
The lines that start with a hash, such as # basic calculator, are called comments (comments: a programmer-readable annotation in the source code of a computer program [2]). These are not interpreted by the computer and are solely there to explain things to the coder - for instance why something is the way it is.
Exercises:
- What happens if you remove the casting, and instead try and just run
number1_input + number2_input? - Try and use the different operations (in the second lot of comments) to perform different outcomes.
- What happens if you divide by zero?
- Or multiply by a negative number?
- Change the output, so you get a response in the format
72 * 12 = 864when given the numbers72and12. Adapt it so it works with all operations. - For the two numbers, output each of the different operations possible - so if given
1and2, output what1+2,1-2,1*2and1/2are. - What happens if we try to output a fraction? I.e.
1/2? Can you find a way to output it correctly?
Working With Types
To illustrate the different types we've talked about so far, and how we're able to create variables of those types.
string_data = raw_input("Please enter some text here")
print type(string_data)

int_data = 1234
print type(int_data)

float_data = 3.14159
print type(float_data)
Note that we don't explicitly need to do anything to create the variables of a different type - Python is clever enough to know what type each variable need be.